The “Live-In Flip” Strategy That Turned My Messy Starter Home Into a Wealth Machine
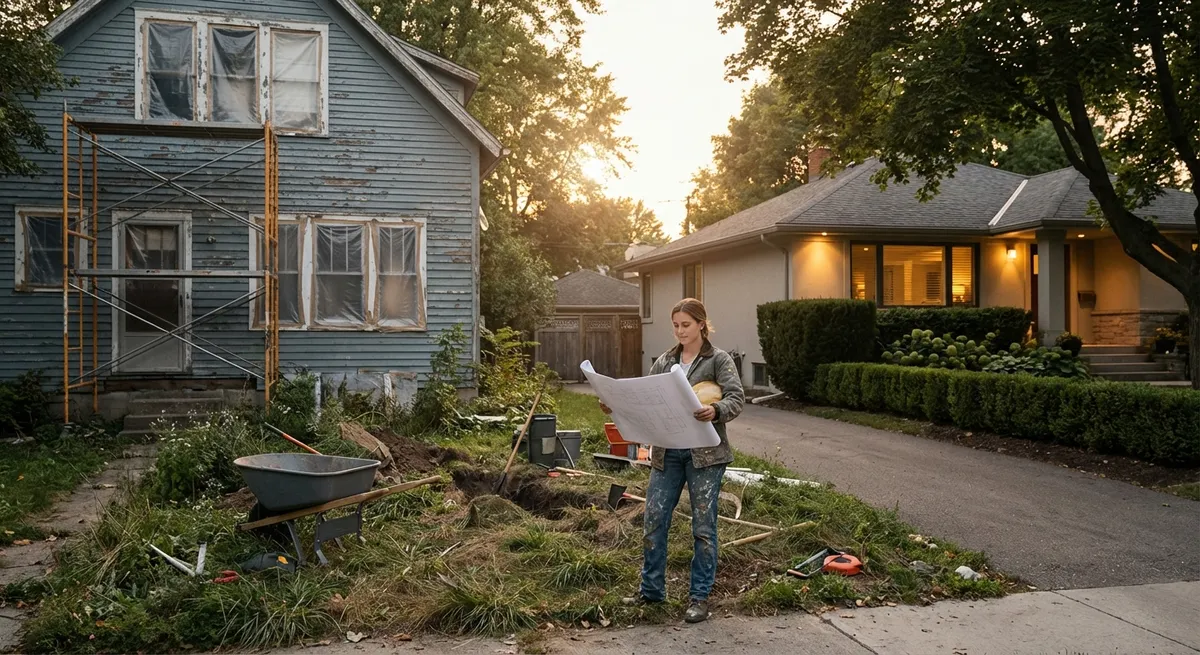
I bought my first house with exactly $2,364 left in my bank account and a sick feeling in my stomach. The place had green carpet, a leaking toilet, and a weird smell I still can’t describe.
But that ugly little house quietly became the engine for every property I’ve bought since—because I accidentally stumbled into what investors call a live-in flip.
I didn’t have investor money. I didn’t have contractor parents. I had YouTube, paint-stained sweatpants, and a willingness to live in a construction zone. And honestly? It worked way better than I expected.
Here’s what I actually learned living through (and not just reading about) the live‑in flip strategy—what pays off, what’s overrated, and what might quietly change your entire real estate timeline.
What a Live-In Flip Really Is (And Why No One Explains It Properly)
When I first heard “live-in flip,” I pictured some HGTV fantasy where you move into a cute fixer-upper, slap on shiplap, and walk away with six figures. Reality check: it’s slower, grittier, and way more powerful than that.
A live-in flip is basically this:
You buy a primary residence that needs work, you actually live in it while you renovate over time, and then you sell it (or rent it out) after building equity through sweat, smart upgrades, and market appreciation.
The twist is how the tax code treats you when it’s your primary residence. Under the IRS “home sale exclusion,” if you live in the home for at least two of the last five years before selling, you may not owe federal capital gains tax on up to $250,000 (single) or $500,000 (married filing jointly) of profit on the sale. That’s huge. That’s life-changing huge.
When I first read about that rule on IRS.gov, I genuinely thought, “There’s no way this is real.” But it is. And once I saw real numbers from actual case studies and my own closing statements, I realized this isn’t some investor hack—it’s a middle-class wealth cheat code that almost no one uses on purpose.
How I Chose a “Bad” House in a “Good” Location (And Why That Order Matters)
When I started hunting, my budget could afford one of three things:
- A cute condo with granite counters but brutal HOA fees
- A decent house in a so-so area
- An ugly, deeply “character-filled” house in a great, walkable neighborhood
I picked door #3—because every investor I’d been borderline-stalking online kept saying the same thing: “You can fix a house, you can’t fix a location.”
In my experience, this ended up being dead-on. Here’s what I looked for that actually mattered:
- School district & amenities: Even though I didn’t have kids, I checked school ratings and proximity to grocery stores, parks, and highways. When I eventually sold, almost every buyer mentioned the schools and the park, not my fancy light fixtures.
- Neighborhood trajectory, not perfection: I walked the block at 7 a.m., noon, and 10 p.m. I checked city planning documents for nearby zoning changes and upcoming developments. I wasn’t looking for “perfect,” I was looking for “getting better.”
- Floor plan over finishes: My house had ugly everything, but a functional layout—no weird chopped-up rooms, no bizarre additions glued on. Fixing ugly is cheap. Fixing bad layout is “there goes your budget” expensive.
I passed on 3 “pretty” homes and chose the one my friends politely called “interesting.” Two years later, my agent told me, “This is the one everyone wants right now.” Location did exactly what the spreadsheets said it would.
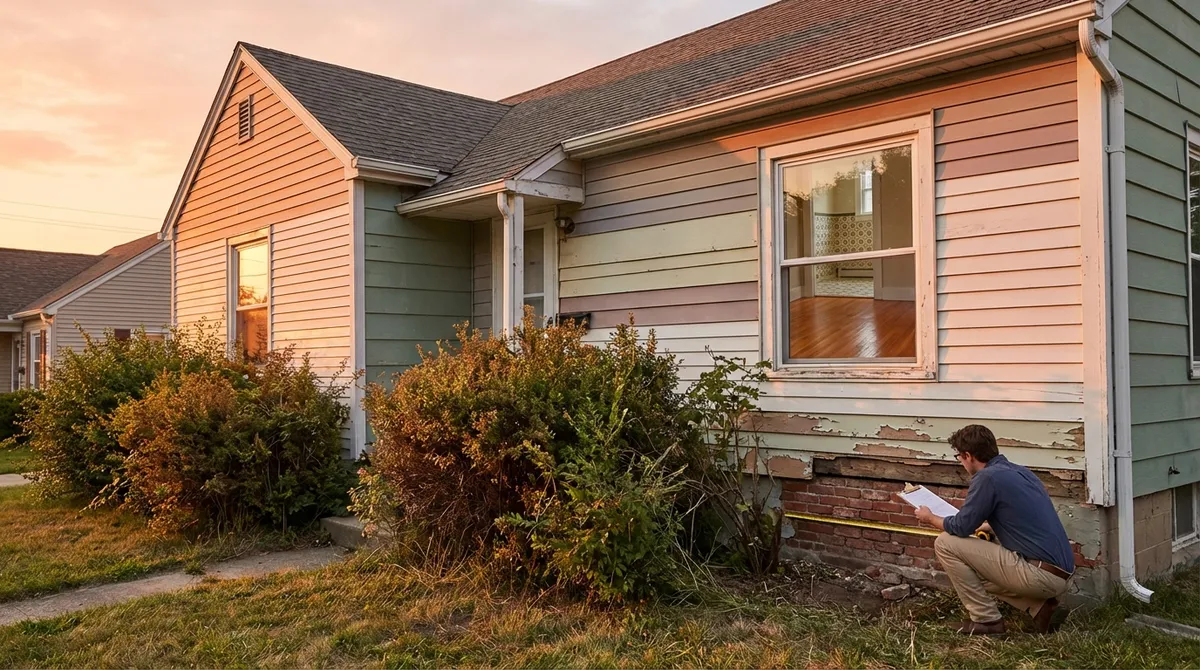
The Renovation Order That Saved My Sanity (And My Wallet)
When I moved in, my instinct was to run to the tile store and pick out something “fun.” I’m so glad I didn’t. When I actually talked to a couple of experienced flippers at a local meetup, they told me the same thing: “Do the boring stuff first. Pretty comes later.”
Here’s the order I eventually followed, and honestly, I’d do it again:
- Safety and systems
I brought in licensed pros to inspect and address:
- Electrical issues
- Plumbing leaks
- Roof condition
- Foundation cracks
None of this showed up in glamorous Instagram posts, but it’s the stuff that scares buyers at inspection and nukes deals.
- Big-ticket longevity items
I replaced the ancient water heater and negotiated a credit for the HVAC at closing before I bought. No one “oohed” at the new water heater, but having recent big systems made later buyers relax.
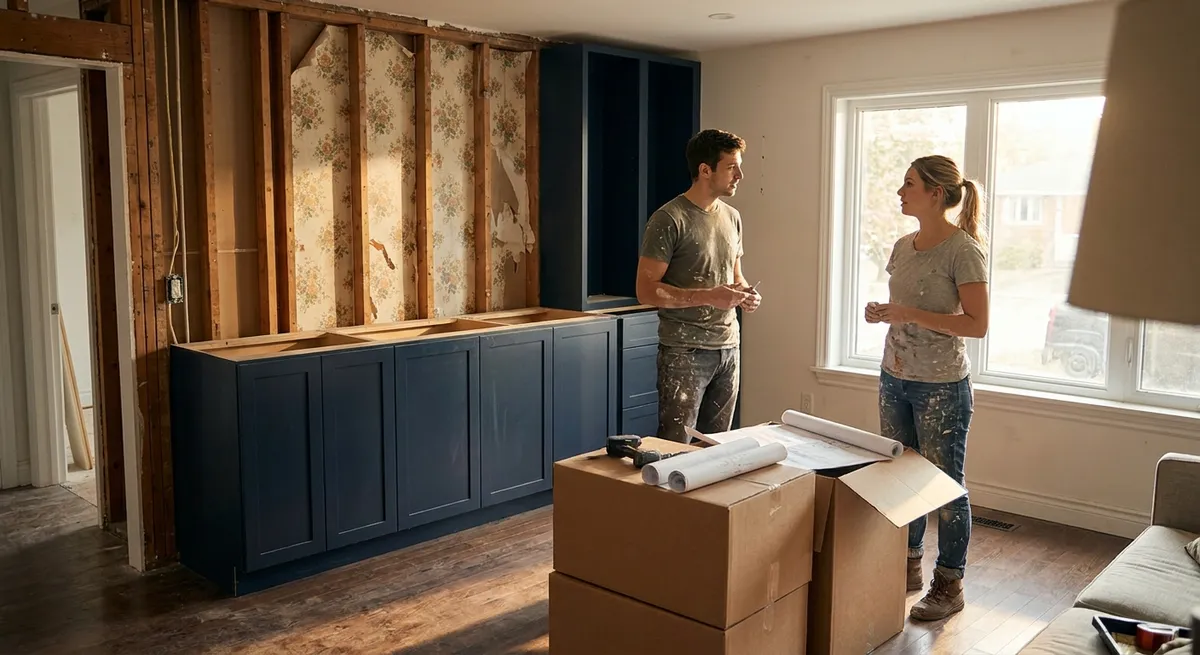
- Layout and functionality (if needed)
I didn’t knock down walls, but I did widen one doorway and add a proper laundry closet. That cost less than a full “open-concept” overhaul and made daily life way better.
- High-ROI cosmetic upgrades
This is where I did most of the work myself:
- Paint (everywhere—walls, trim, doors, even the ugly oak cabinets)
- New lighting fixtures
- Hardware swaps on doors and cabinets
- Refinished or replaced flooring
When I tested this order on my next property, the effect was the same: buyers forgave small imperfections because the house felt solid, clean, and functional.
What surprised me most wasn’t the ROI (which was solid), but the psychological impact. Once the “scary” stuff was handled, I actually felt excited to pick paint colors instead of stressing that the roof might leak mid‑storm.
What I DIY’d vs. What I Gladly Paid For
I used to think DIY automatically equals savings. It doesn’t. Sometimes it equals “triple the time, half the quality, and you still call a pro.”
Here’s how I eventually split it:
Things I DIY’d and would absolutely do again:- Interior paint: It’s tedious but forgiving. I got better as I went, and the cost savings were huge.
- Simple landscaping: Mulch, edging, basic plants. It was instant curb appeal without breaking the bank.
- Fixture swaps: Replacing light fixtures, faucets, and hardware felt like changing outfits on the house.
- Basic demo: Pulling out old carpet and weird shelves was strangely therapeutic—as long as no structural stuff was involved.
- Electrical work: I like being alive. Enough said.
- Major plumbing: Tiny leaks can become giant problems. I outsourced anything behind walls.
- Structural changes: I wanted equity, not lawsuits or collapsed ceilings.
- Load-bearing anything: I paid for an engineer’s report once. Worth every dollar.
When I compared my receipts to local contractor bids, the biggest savings weren’t from hero-level DIY. They came from being my own project manager—scheduling trades, buying materials myself, and doing all the cleanup, hauling, and prep work nobody likes but everyone charges for.
The Tax and Timing Move That Quietly Supercharged My Profit
Here’s where things got interesting: the timing.
I’d read about the IRS “2-out-of-5-year rule” for primary residences, but it didn’t fully click until I was about to sell. Because I’d lived in the home for just over two years, most of the gain from my sale was tax-free under the home sale exclusion.
So instead of handing a chunk of my profit over in capital gains taxes, I rolled almost every dollar into the down payment for the next property.
A few things I learned the hard way:
- You don’t have to live there for exactly two years, but hitting that mark can be insanely valuable from a tax standpoint.
- You can’t use the exclusion over and over every year—there are rules and waiting periods—so planning your moves actually matters.
- Laws can change. I triple-checked with a tax professional rather than trusting a forum post.
This is where I’ll be super clear: I’m not a CPA, and I’m not giving you personalized tax advice. I just saw with my own eyes how knowing the basic rules—and designing my timeline around them—made a very real, very big difference in my net profit.
The Emotional Side Nobody Warned Me About
People talk a lot about numbers and not nearly enough about what it’s like to live in chaos for months (or years).
Here’s what my highlight reel doesn’t show:
- I cooked in a half‑demoed kitchen balanced on a folding table for six weeks.
- I showered with a curtain duct-taped to the wall because I hadn’t tiled yet.
- I once cried in the parking lot of a home improvement store because the flooring I picked was out of stock. For months.
There’s also the weird identity shift. At some point, I stopped seeing myself as “a person who owns a house” and started seeing myself as “someone who creates value in properties.” That mental shift made every late night sanding trim feel a little more like an investment and less like punishment.
But here’s the other side: when I finally saw the “before and after” photos stacked next to my final sale price, it didn’t feel like a fluke. It felt earned.
Would I recommend living in a construction zone to everyone? No. Especially not if:
- You have very young kids or people in your home with respiratory or mobility issues
- You absolutely need peace and quiet to function
- You hate mess more than you love potential profit
But if you can handle some controlled chaos, the tradeoff can be massive.
Turning One Live-In Flip Into a Repeatable Strategy
After that first sale, I didn’t buy a dream house. I repeated the play—this time on purpose.
Here’s how I systemized what used to feel like chaos:
- Clear renovation phases: I’d map out “Month 1: Systems + safety,” “Month 2–4: Cosmetics in main living spaces,” and so on.
- Realistic budgets with buffers: I’d add 15–20% cushion. Almost every project tried to eat it, and sometimes succeeded.
- Rental exit option: I looked at each property and asked, “If I can’t sell when I want, can this cash flow as a rental?” That question stopped me from over-improving for the neighborhood.
- Skill stacking: Every project, I intentionally learned one new thing: tiling, basic drywall repair, trim work. Each skill made the next flip cheaper and faster.
I’m not sitting on a 50-door portfolio or anything. I’m just someone who used two very lived-in, very dusty houses to leapfrog my way into properties I legitimately never thought I’d afford.
And that, honestly, is why I keep telling people about live-in flips. You don’t need a massive down payment. You need a decent base, a tolerance for chaos, and a longer timeline than a typical “flip this house in 90 days” TV fantasy.
The Real Risks (And How I’d Reduce Them If I Were Starting Over)
Let me be blunt: this is not a guaranteed win. I’ve made money on my live-in flips, but I’ve also:
- Underestimated repair costs
- Misjudged how “hot” a market really was
- Over-improved a bedroom that buyers didn’t actually care about
If I were starting fresh, here are the guardrails I’d set up day one:
- Don’t fall in love with the “after” in your head.
Fall in love with the spread—the gap between what you pay + what you’ll invest and what similar fixed-up homes are actually selling for.
- Plan for worst-case timelines.
Renovations always take longer. Markets soften. Life happens. I’d ask, “If I had to stay here an extra year, would that be survivable?”
- Get multiple contractor bids—even if you plan to DIY.
Those bids became my unofficial “price of my time” and kept me honest about what was really worth tackling myself.
- Don’t chase perfection.
Buyers want clean, functional, and cohesive—not custom millwork in every room. The last 10% of “perfection” can cost more than it returns.
And most importantly: listen to actual local data, not national headlines. I watched people panic-sell or overpay based on big, scary news stories without ever running the numbers in their zip code.
Why This Strategy Might Be Your Quiet Shortcut to “I Actually Own This”
The live-in flip isn’t flashy. It’s not “no money down.” It doesn’t make for a glamorous 30-day before-and-after montage.
But in my experience, it is:
- Accessible to regular people with regular incomes
- Protected by some incredibly powerful tax advantages (if you play by the rules)
- A crash course in real estate, construction, and finance that no book can fully teach you
My first house was ugly. It smelled weird. I almost regretted it.
That same house later paid for the down payment on the home I live in now—plus gave me the confidence to look at “problem” properties and see potential instead of panic.
If you’ve been scrolling listings feeling like you’re forever priced out of the “nice” houses, the live-in flip might be your way in through the back door: not glamorous, not easy, but very, very real.
Sources
- IRS: Publication 523 – Selling Your Home – Official details on the home sale exclusion, including the 2-out-of-5-year rule and capital gains treatment for primary residences.
- U.S. Census Bureau – Characteristics of Recent Home Buyers – Data and reports on homeownership trends and buyer behavior that inform real-world demand.
- National Association of Realtors – 2023 Remodeling Impact Report – Breakdown of which home projects add the most resale value and how buyers perceive different upgrades.
- Harvard Joint Center for Housing Studies – Improving America’s Housing – Research on home improvement spending, renovation patterns, and how owners are investing in their properties.
- Consumer Financial Protection Bureau – Owning a Home – Guides and tools on mortgages, closing costs, and financial planning for buying and selling a primary residence.